So, what the heck is an “artisan” keycap?
what are they, and why should I care?
If you have seen anything about custom mechanical keyboards, you have probably noticed that they are all pretty unique. That is one of the biggest appeals, after all; the customizability (is that a word?). When you get a mechanical keyboard, you can customize the layout to suit your needs, pick out and tune the switches to whatever feel you want, and add keycaps to suit whatever aesthetic you desire.
Custom mechanical keyboards in and of themselves make up a very tiny niche market of the tech-savvy community, and artisan keycaps make up an even smaller niche portion of that custom mechanical keyboard community.
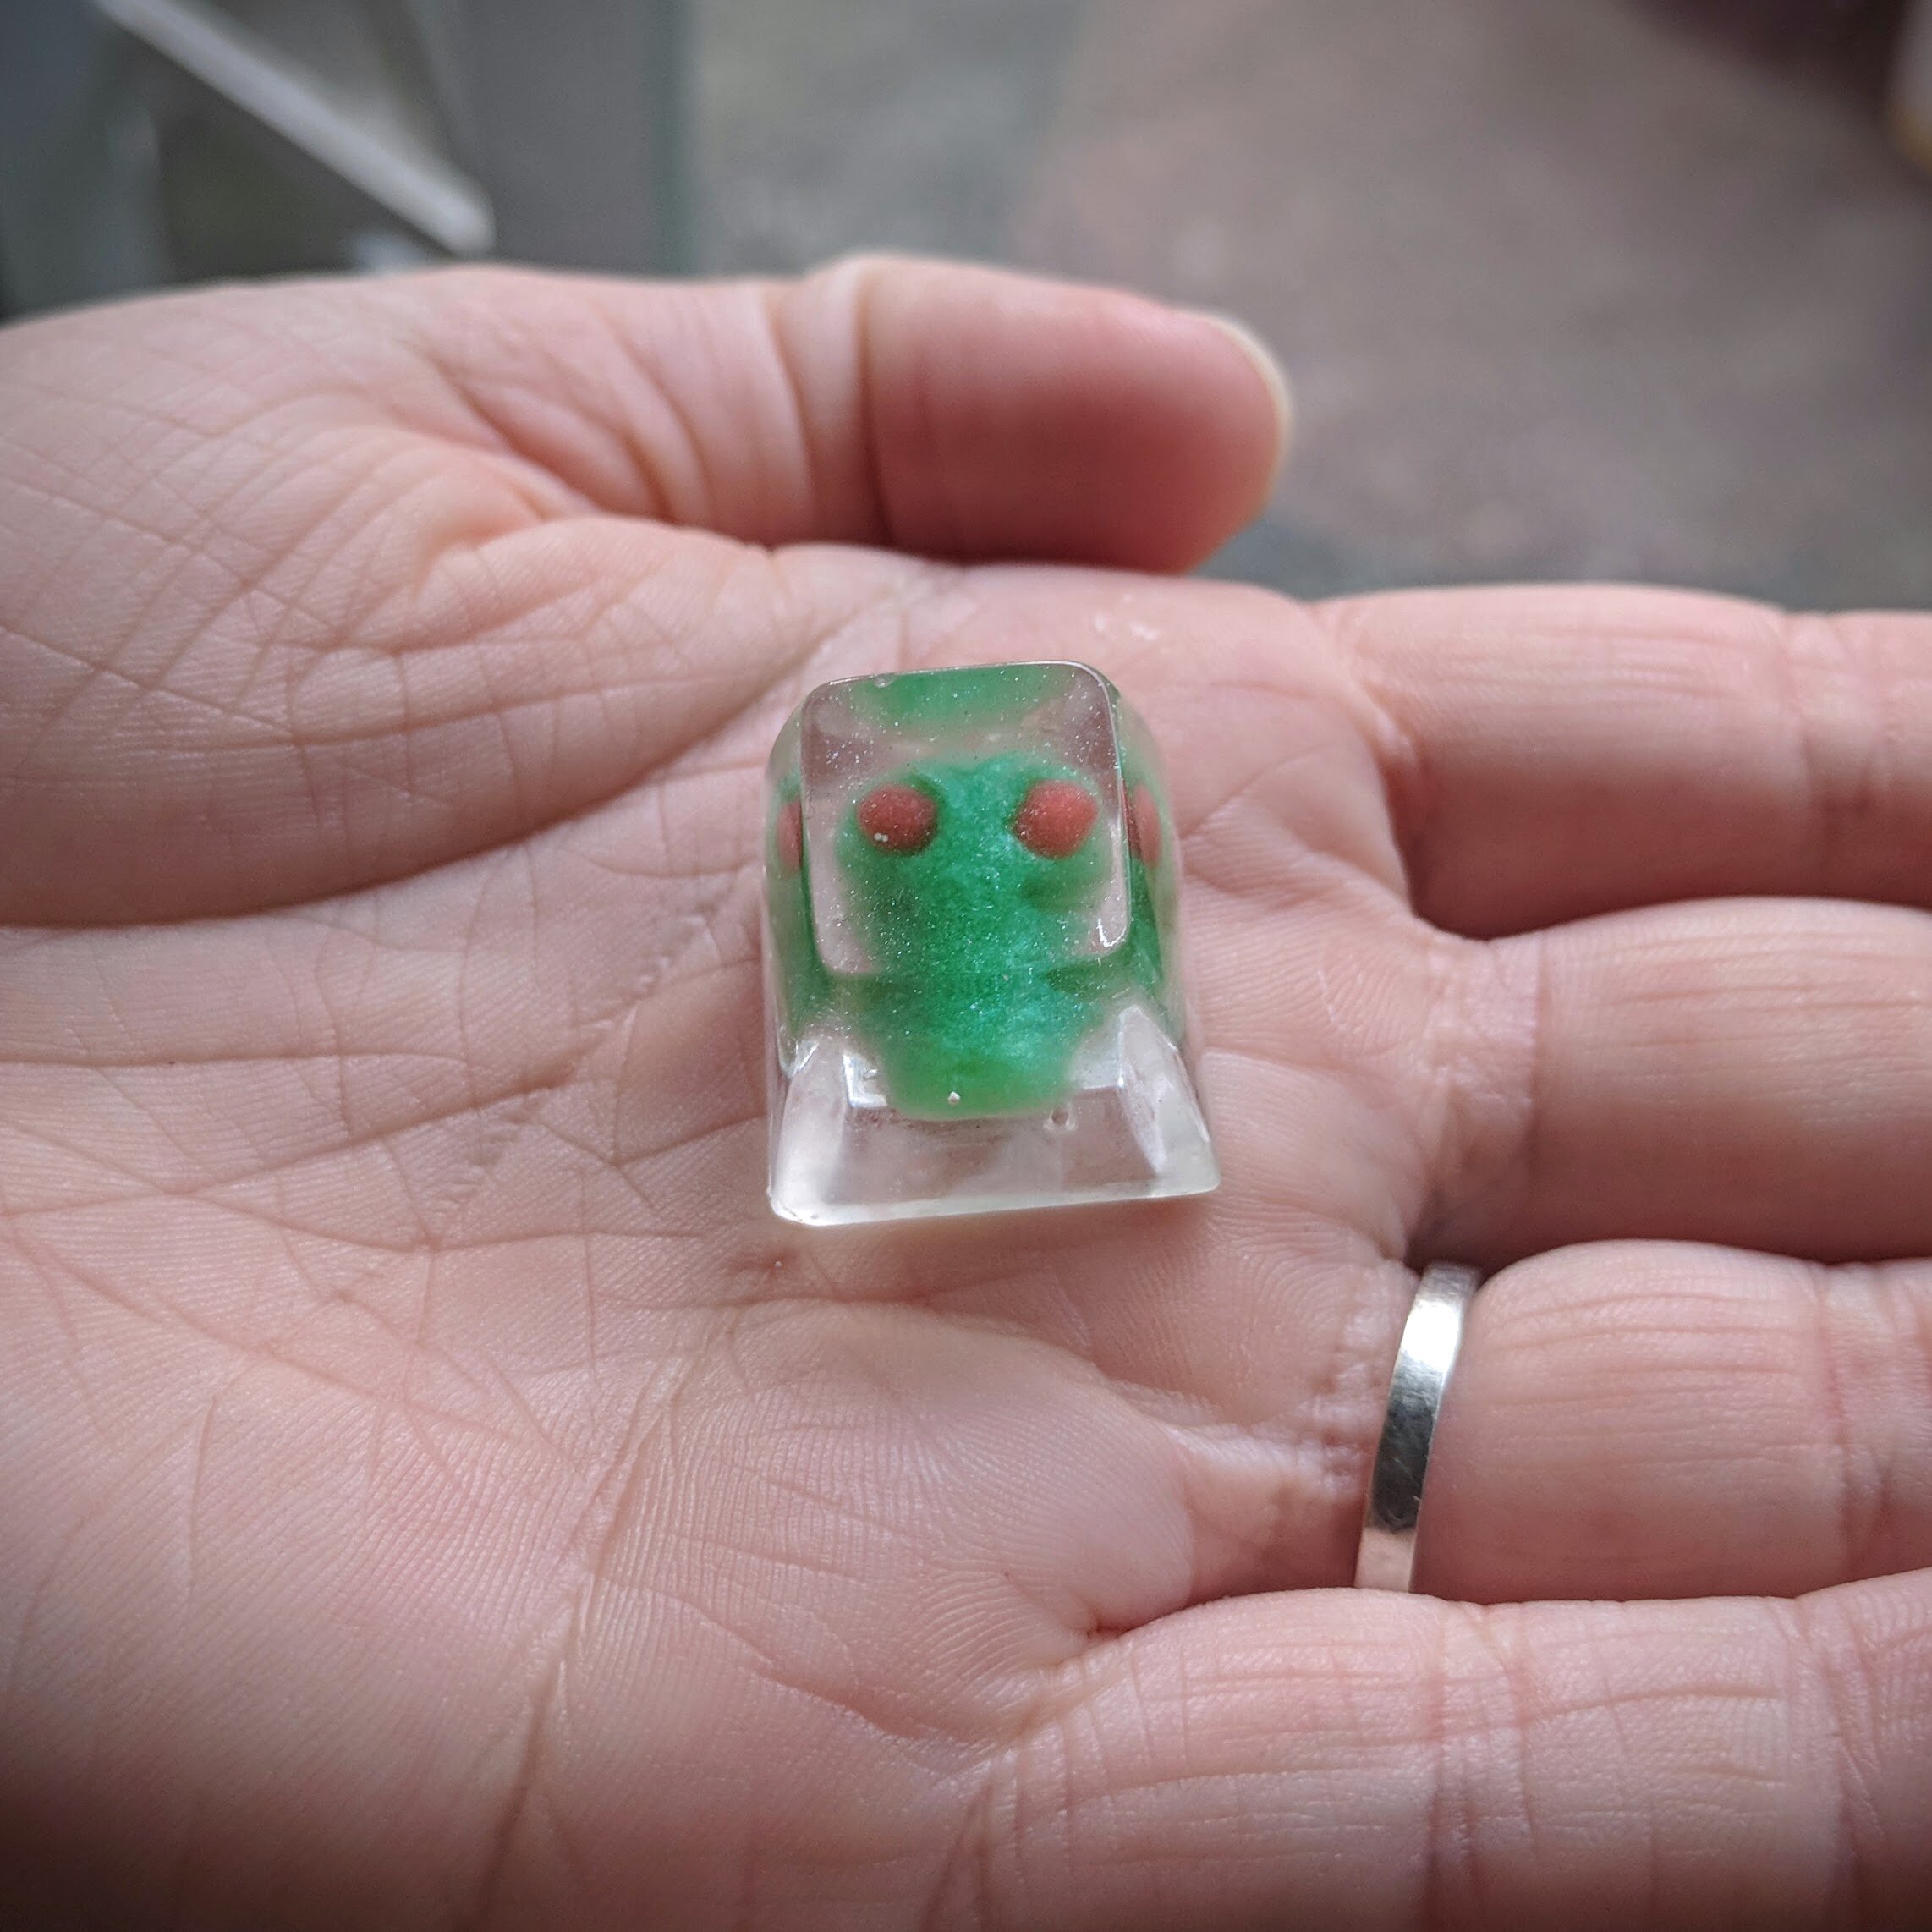
With customization the key component to most keyboard “builds”, people look for something to add unique character to their keyboard. That is where artisan keycaps come in. Artisan keycaps are (usually) hand-sculpted, hand-cast, and hand-finished keycaps that are born of the creative ether of some more industrious (and deranged) “makers” within the mechanical keyboard community. They provide a way to make a keyboard truly suit your own personal style, and add some interesting “pizzazz” to your board (and also cause your loved ones to think you have lost your mind). Due to the hand-made nature of artisan caps, and the low quantities produced therein, many have also become highly sought-after collectible items. This has spawned an entire online-based “market” that sees thousands of various trades and sales between individual members of the mechanical keyboard community.
Also, Richard Mendis (a high-profile member in the community), has created a website specifically for mech keyboard n00bs all about artisan keycaps. You can check it out here: artisancollector.com
so, how do you make sculpted artisan keycaps?
These are the general steps of my keycap creation process:
Idea
Almost all of my ideas start out with rough sketches after a spark of inspiration, and just some ol’ fashioned critical thinking.
Plan
During this stage I refine the sketch(es), plan details of the keycaps, and figure out a gameplan for actually making a first prototype. I also start to come up with colorways that will complement the sculpt/keycap.
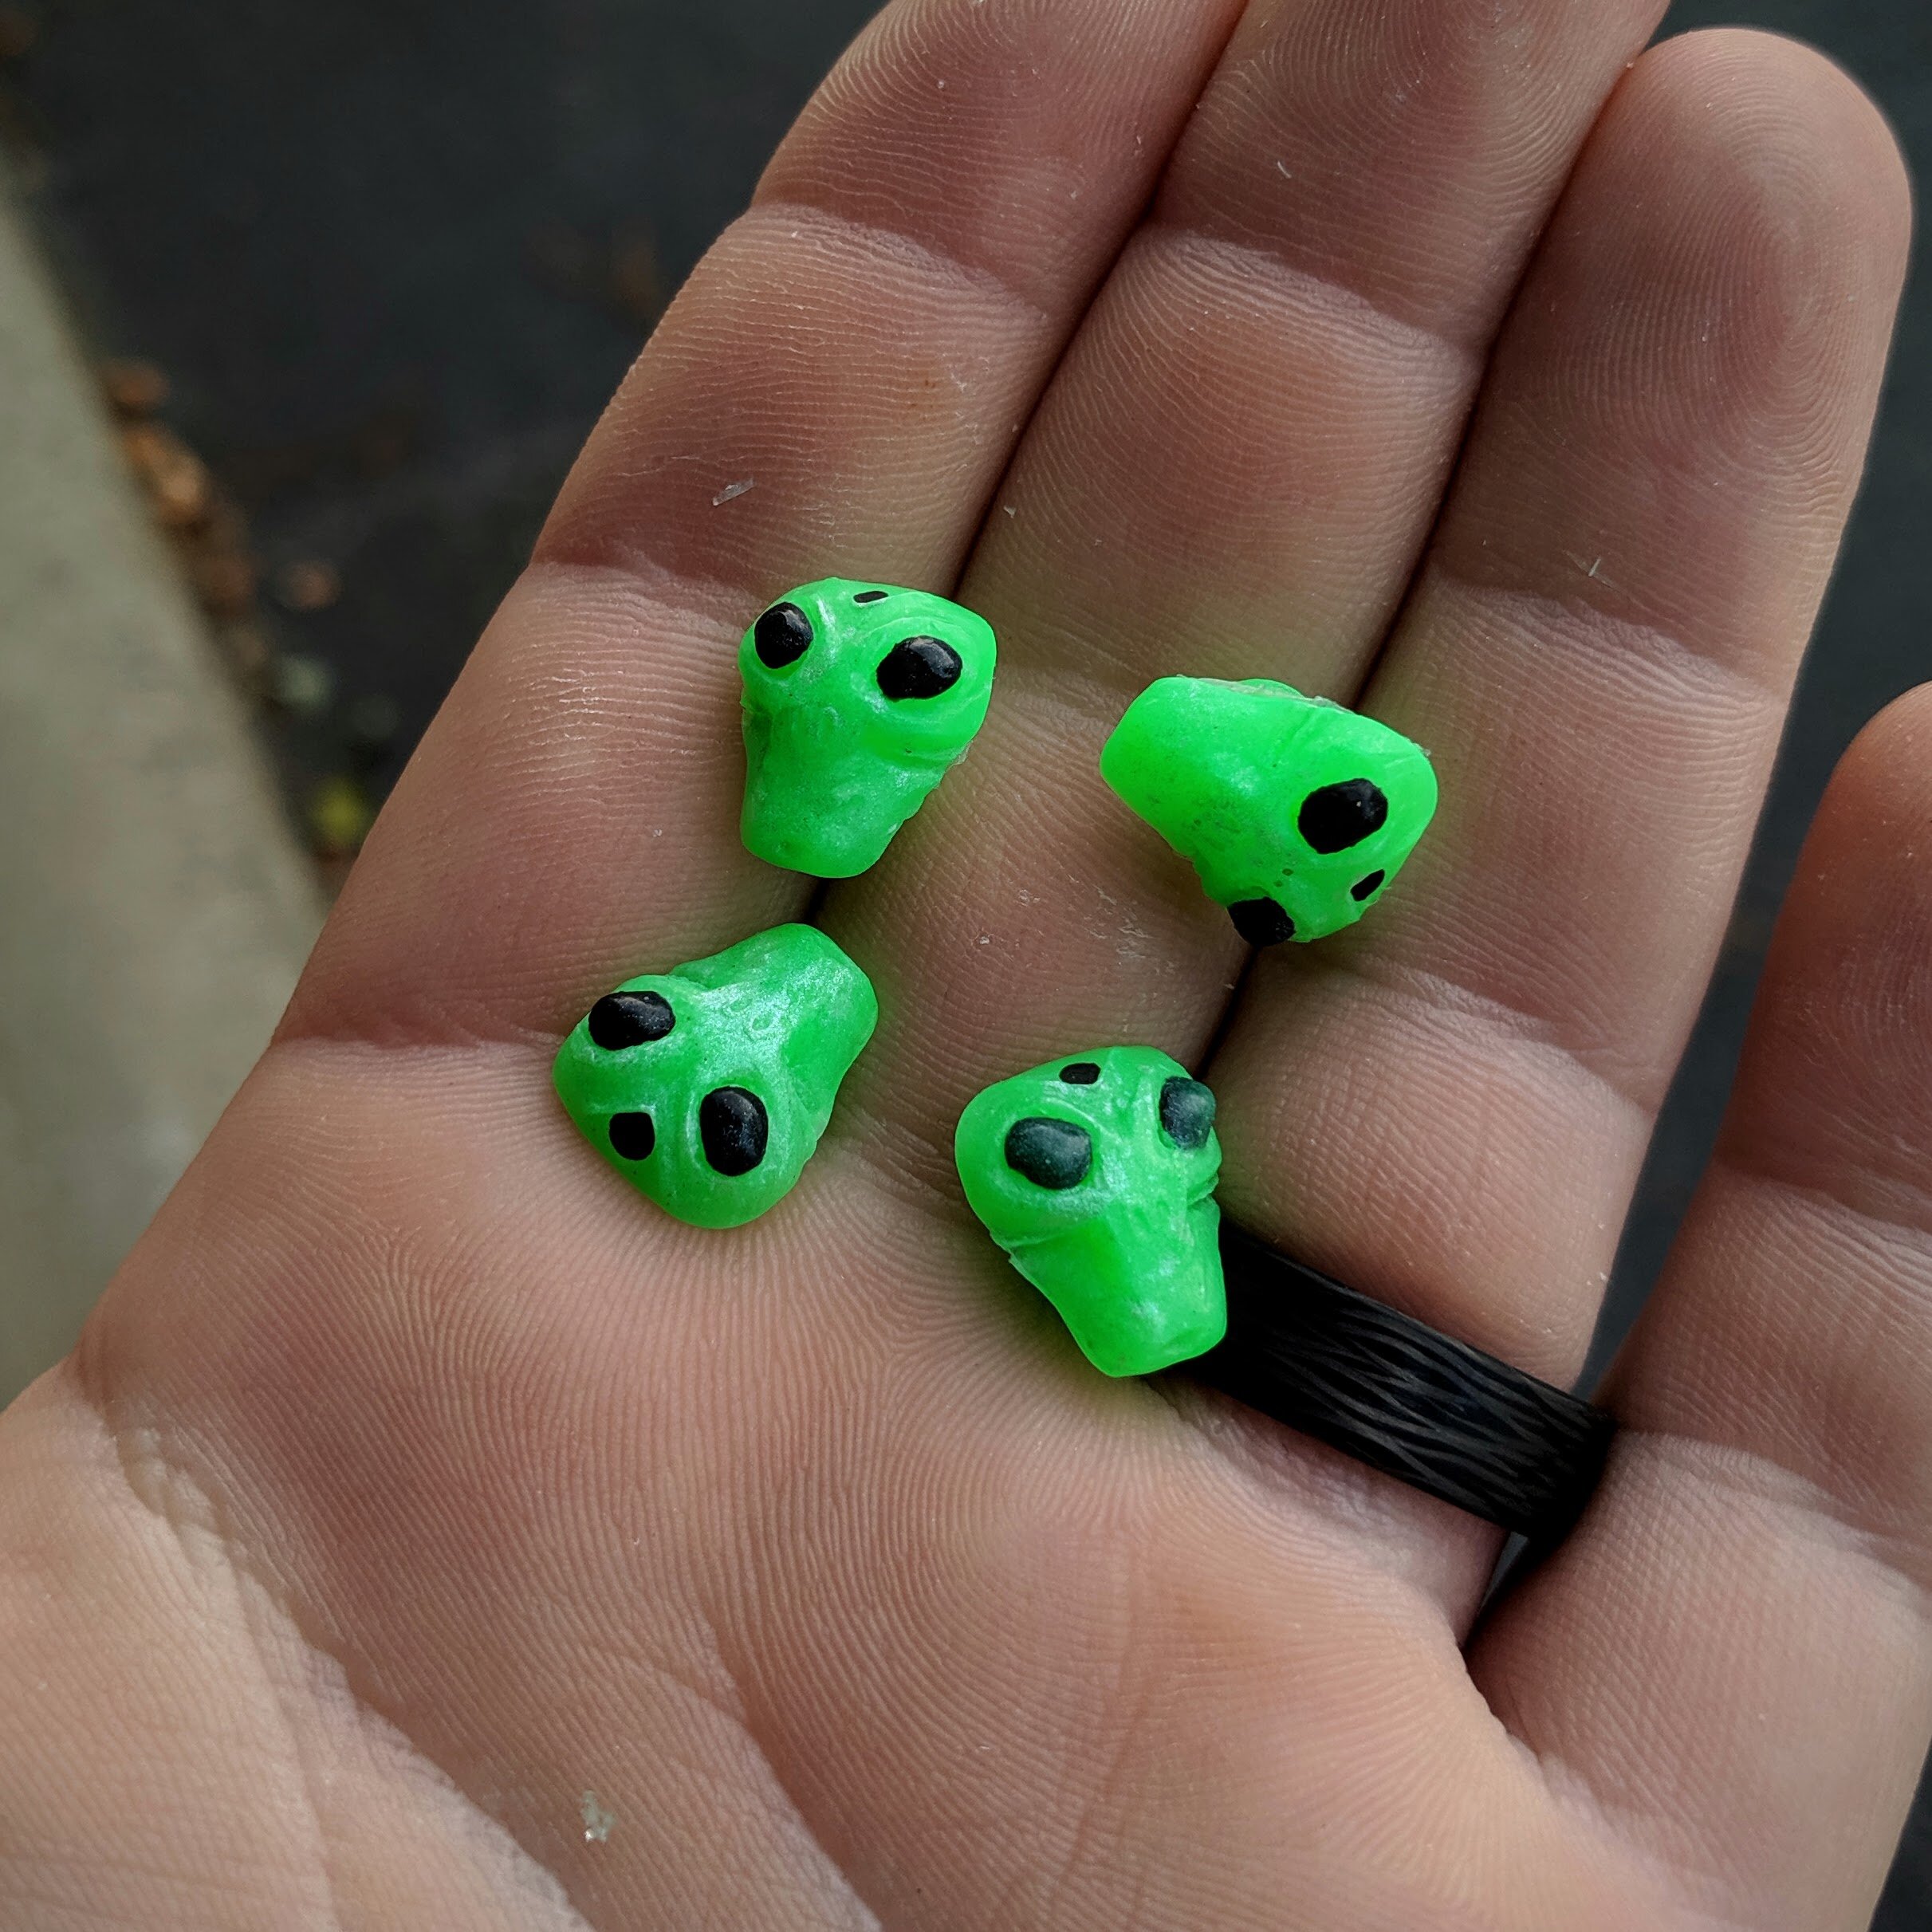
Sculpt
This is the lengthiest stage for me. All of my “sculpted” keycaps are hand-sculpted on my custom mold making platforms using either super sculpey or monster clay- and usually over the course of several weeks if not months (I’m slow). I also utilize CAD for some designs (such as the textured gamer set, and the inner part of Aweigh!), which is essentially just digital sculpting. Anything I design in CAD gets 3D printed with a high-resolution resin SLA printer.
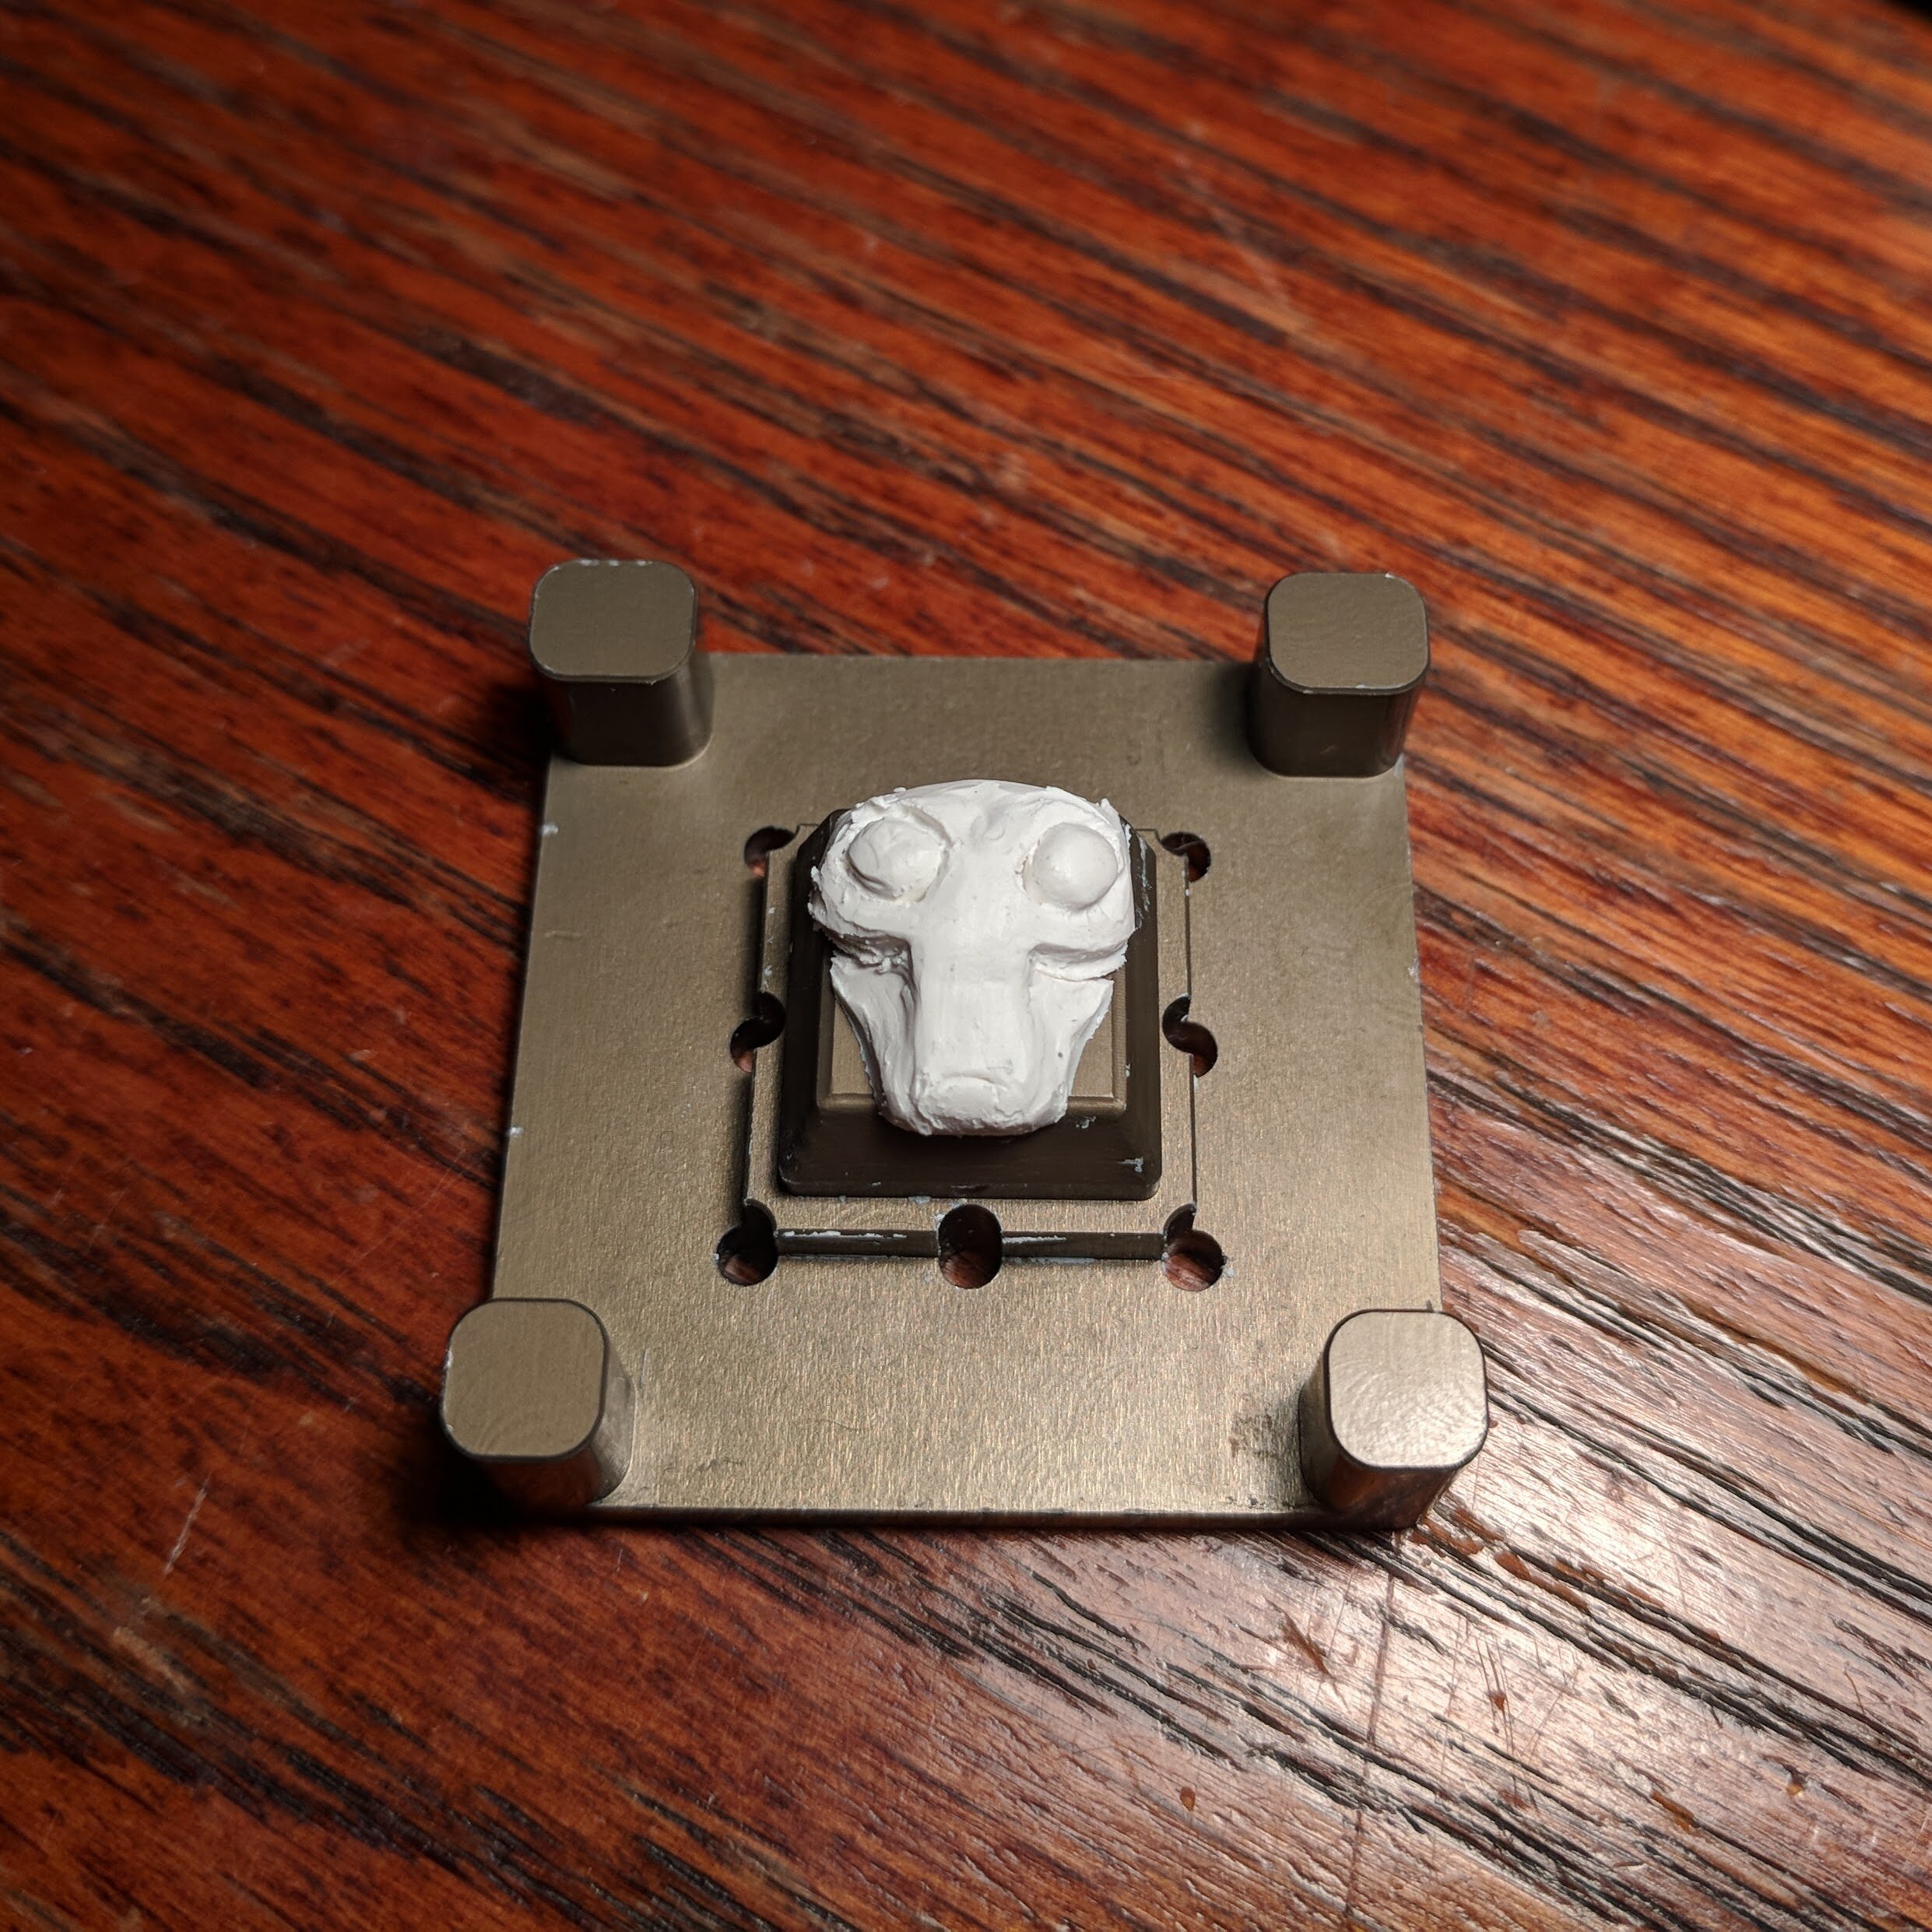
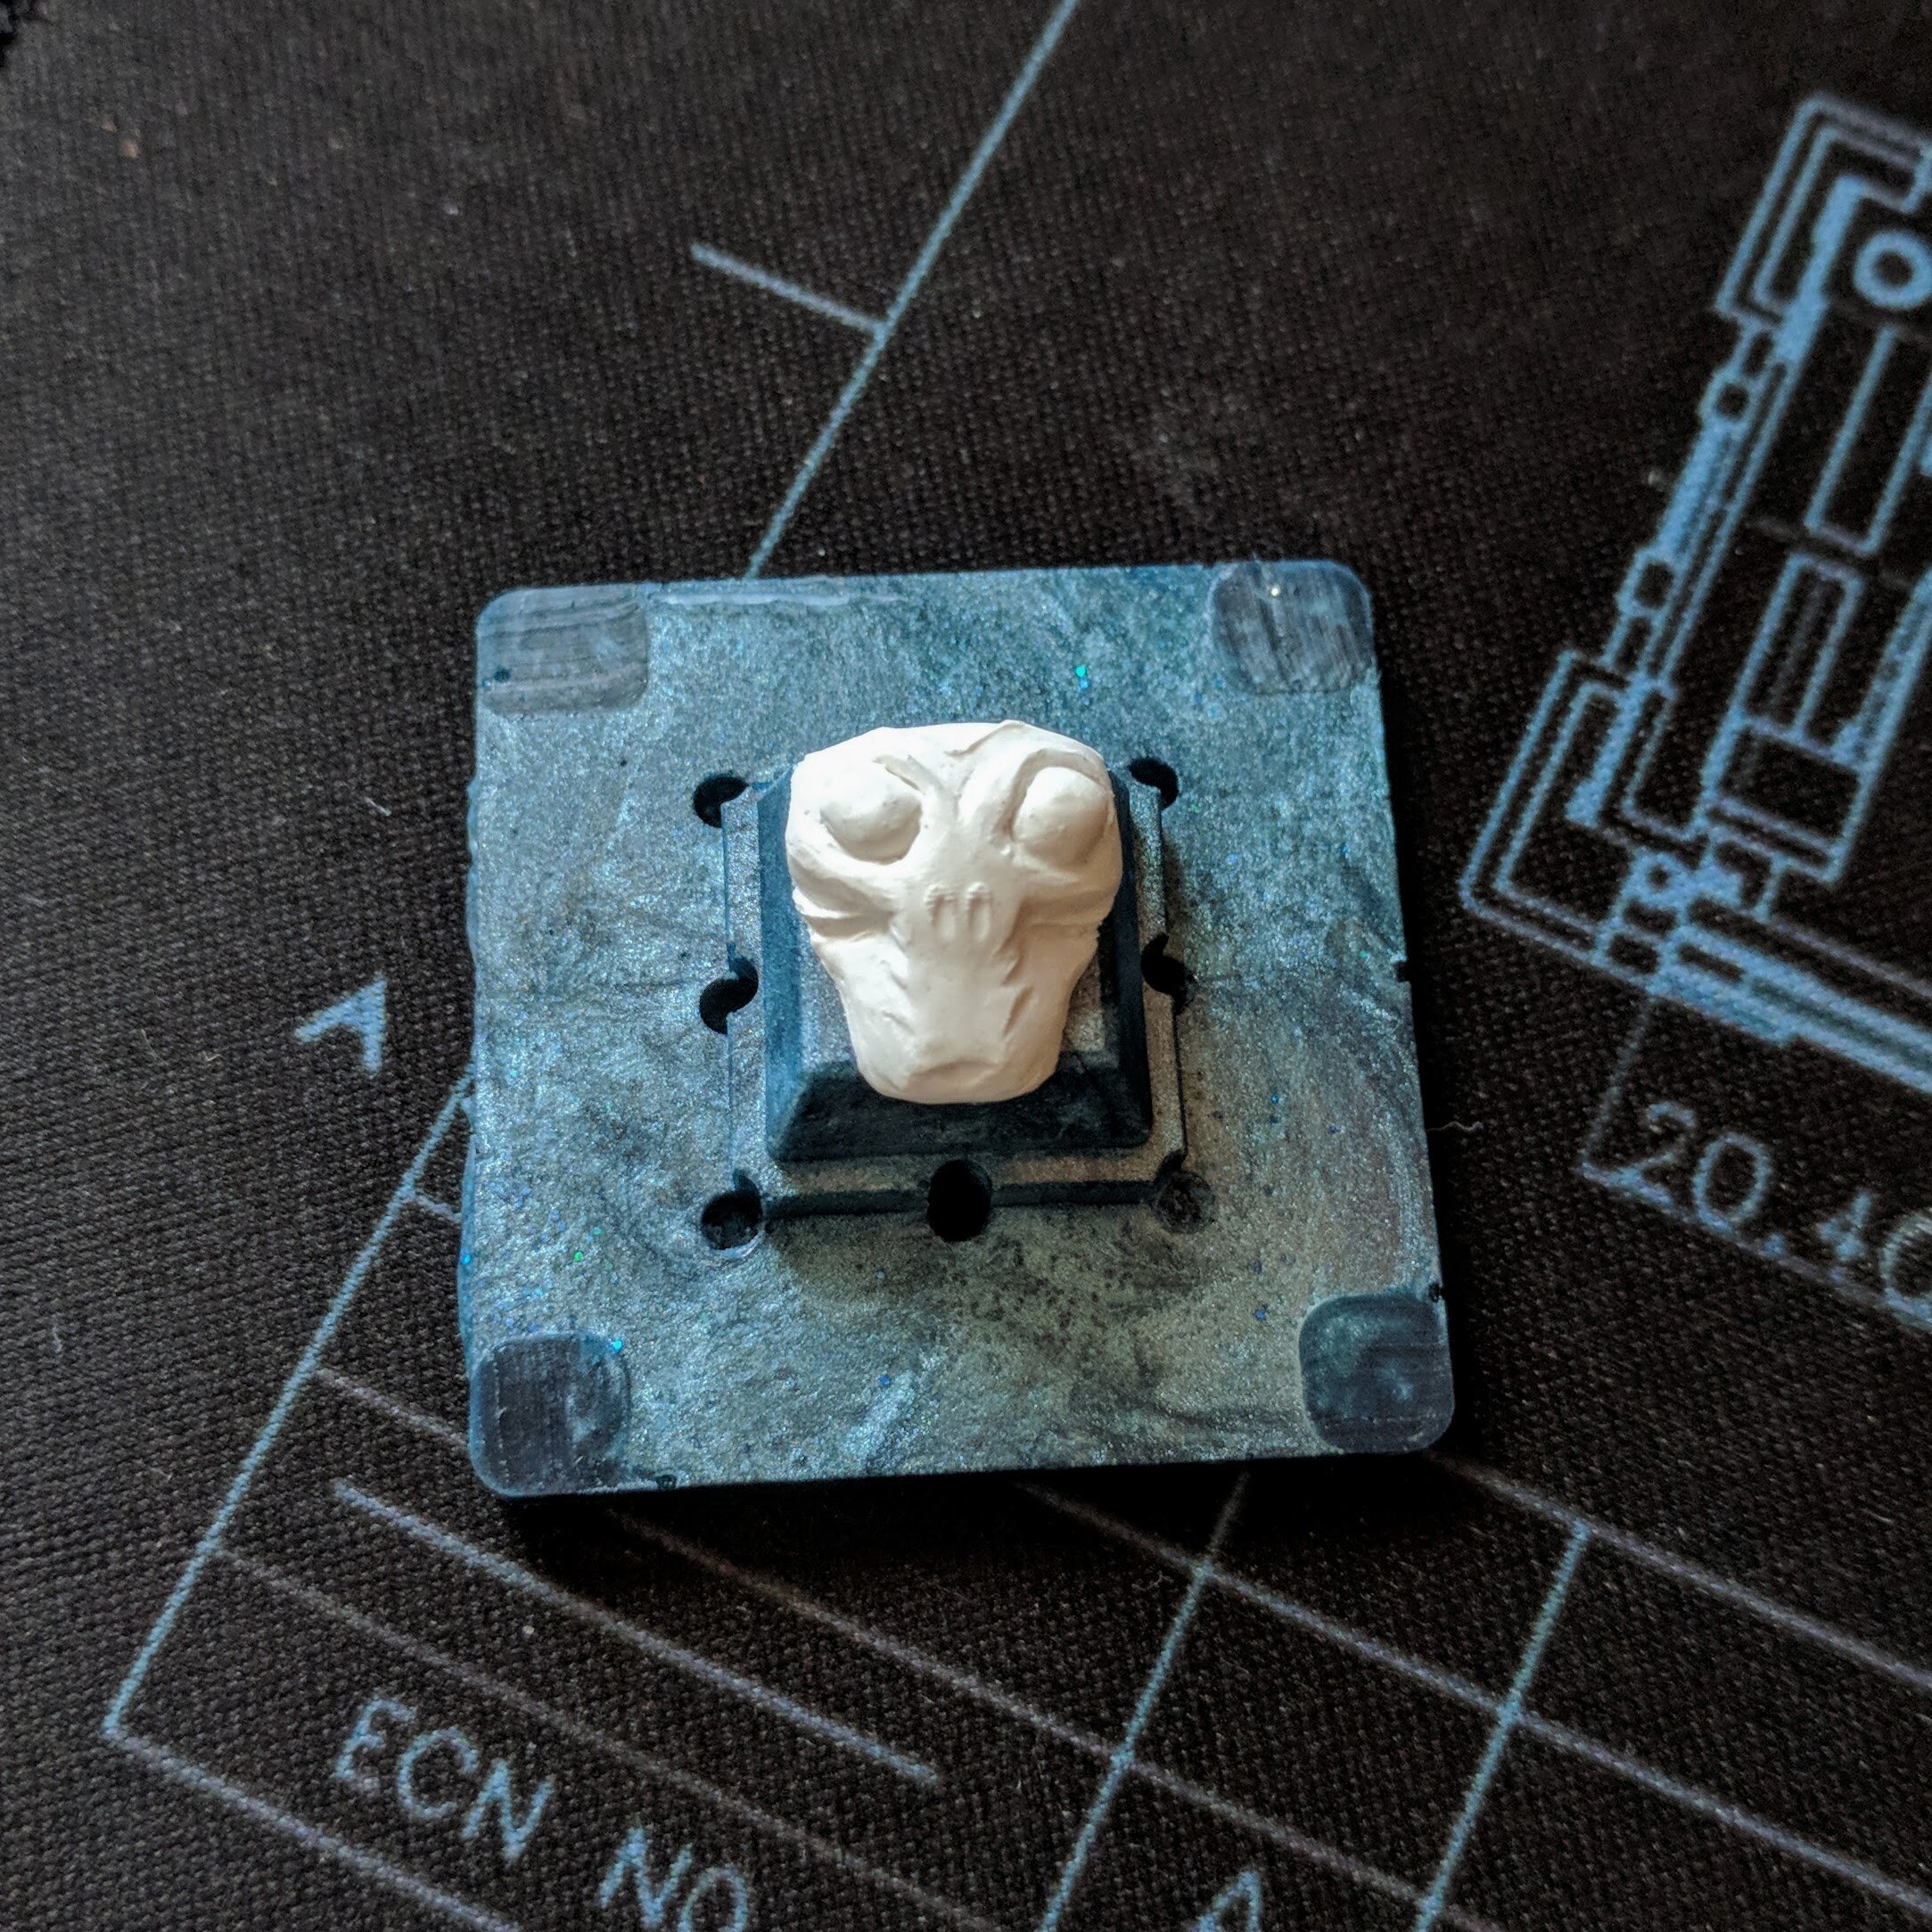
mold
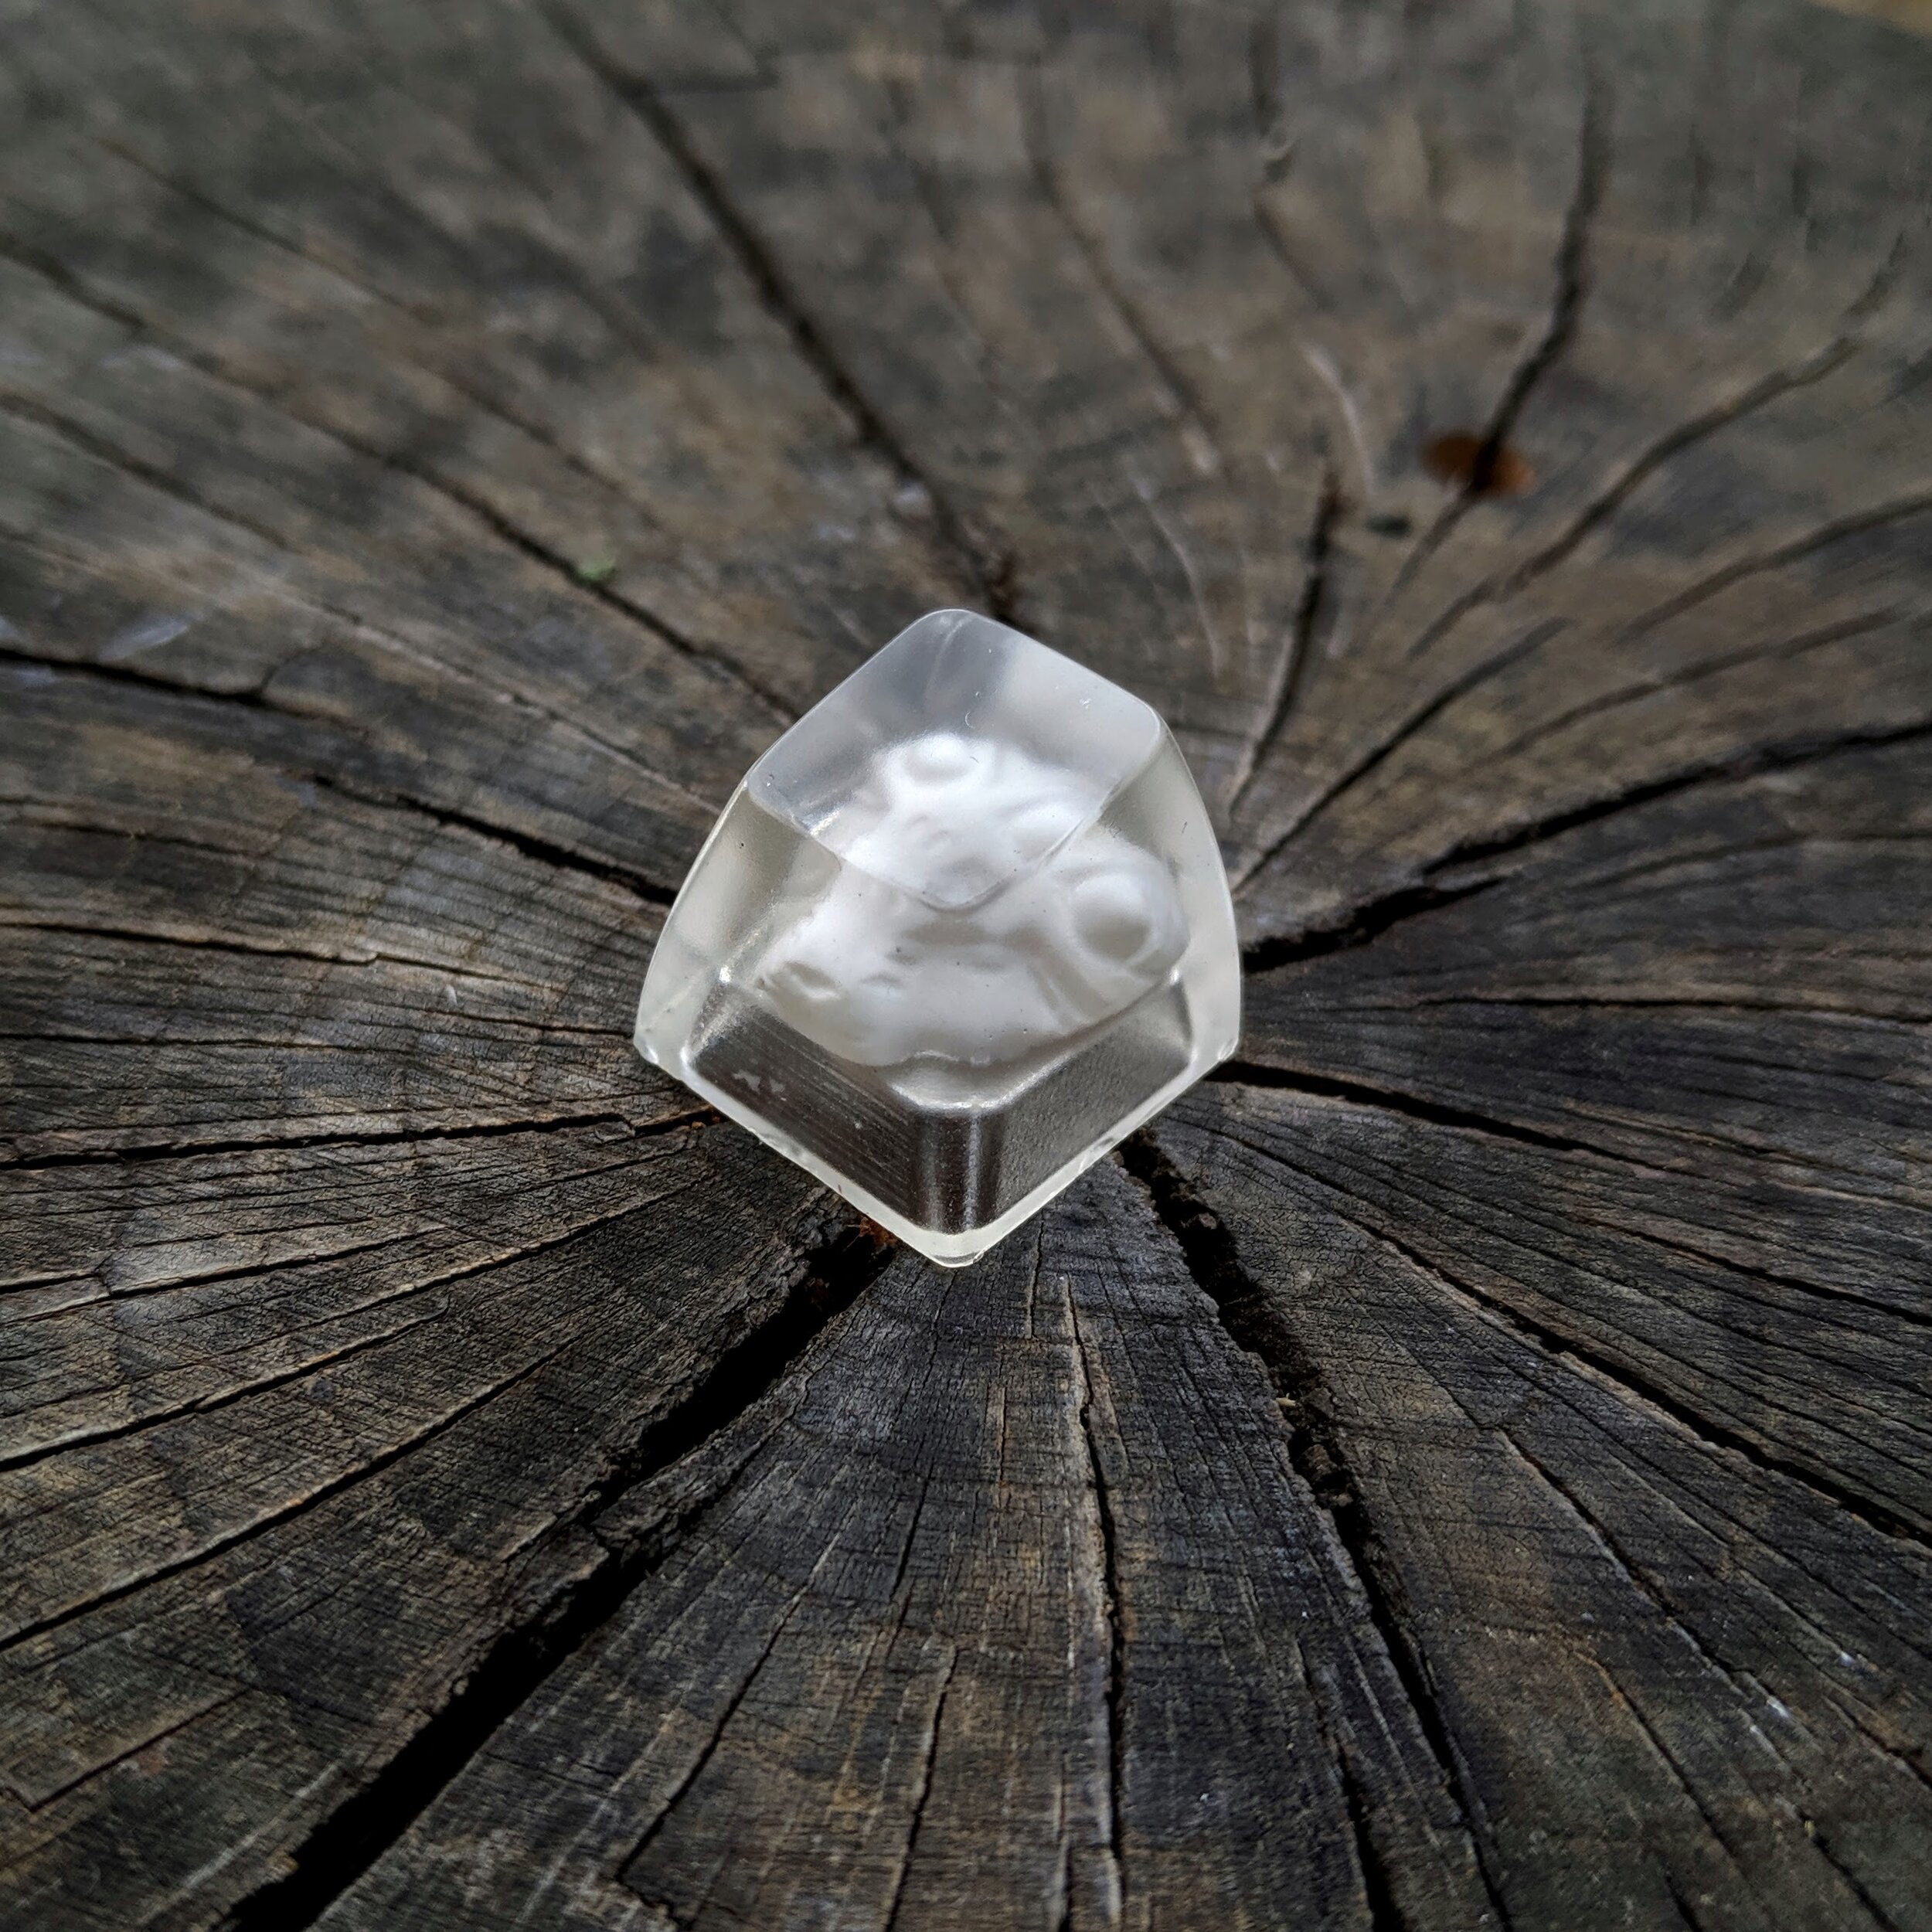
During this stage I fix the sculpted cap up as much as possible (lots of smoothing), and then make a single initial mold with silicone. Then I will cast one or two caps from this mold as an initial prototype.
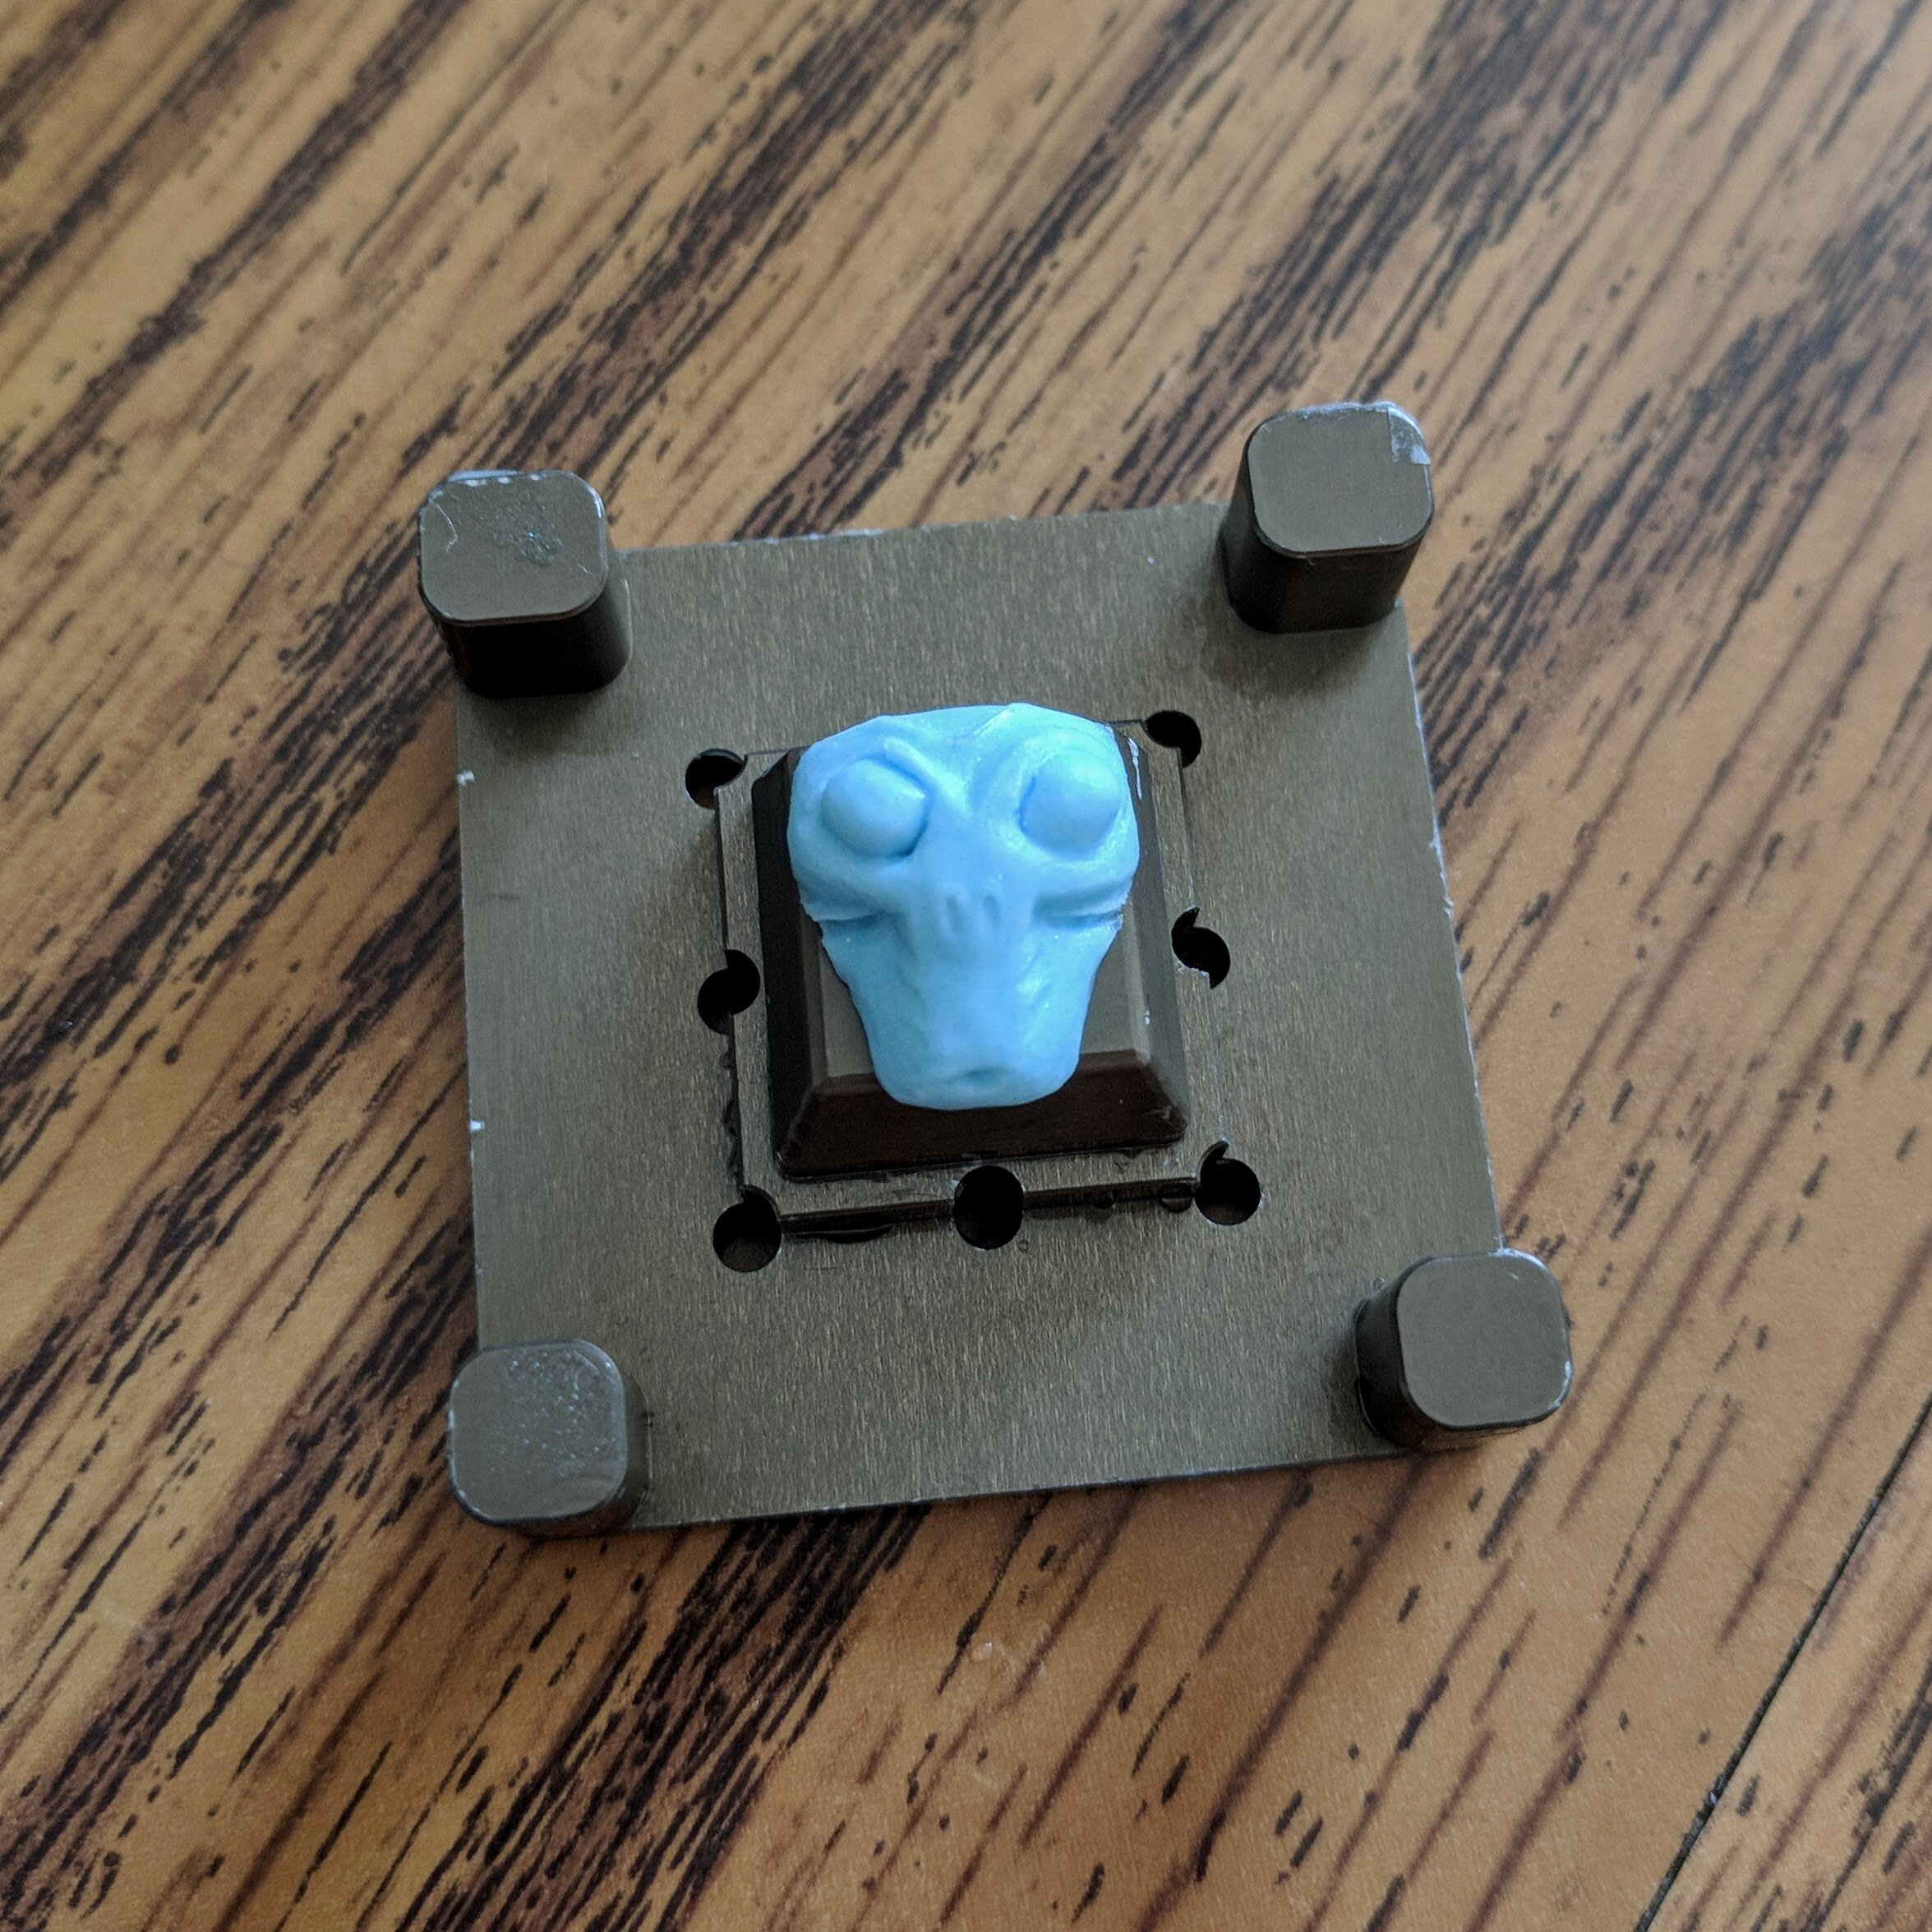
Refine
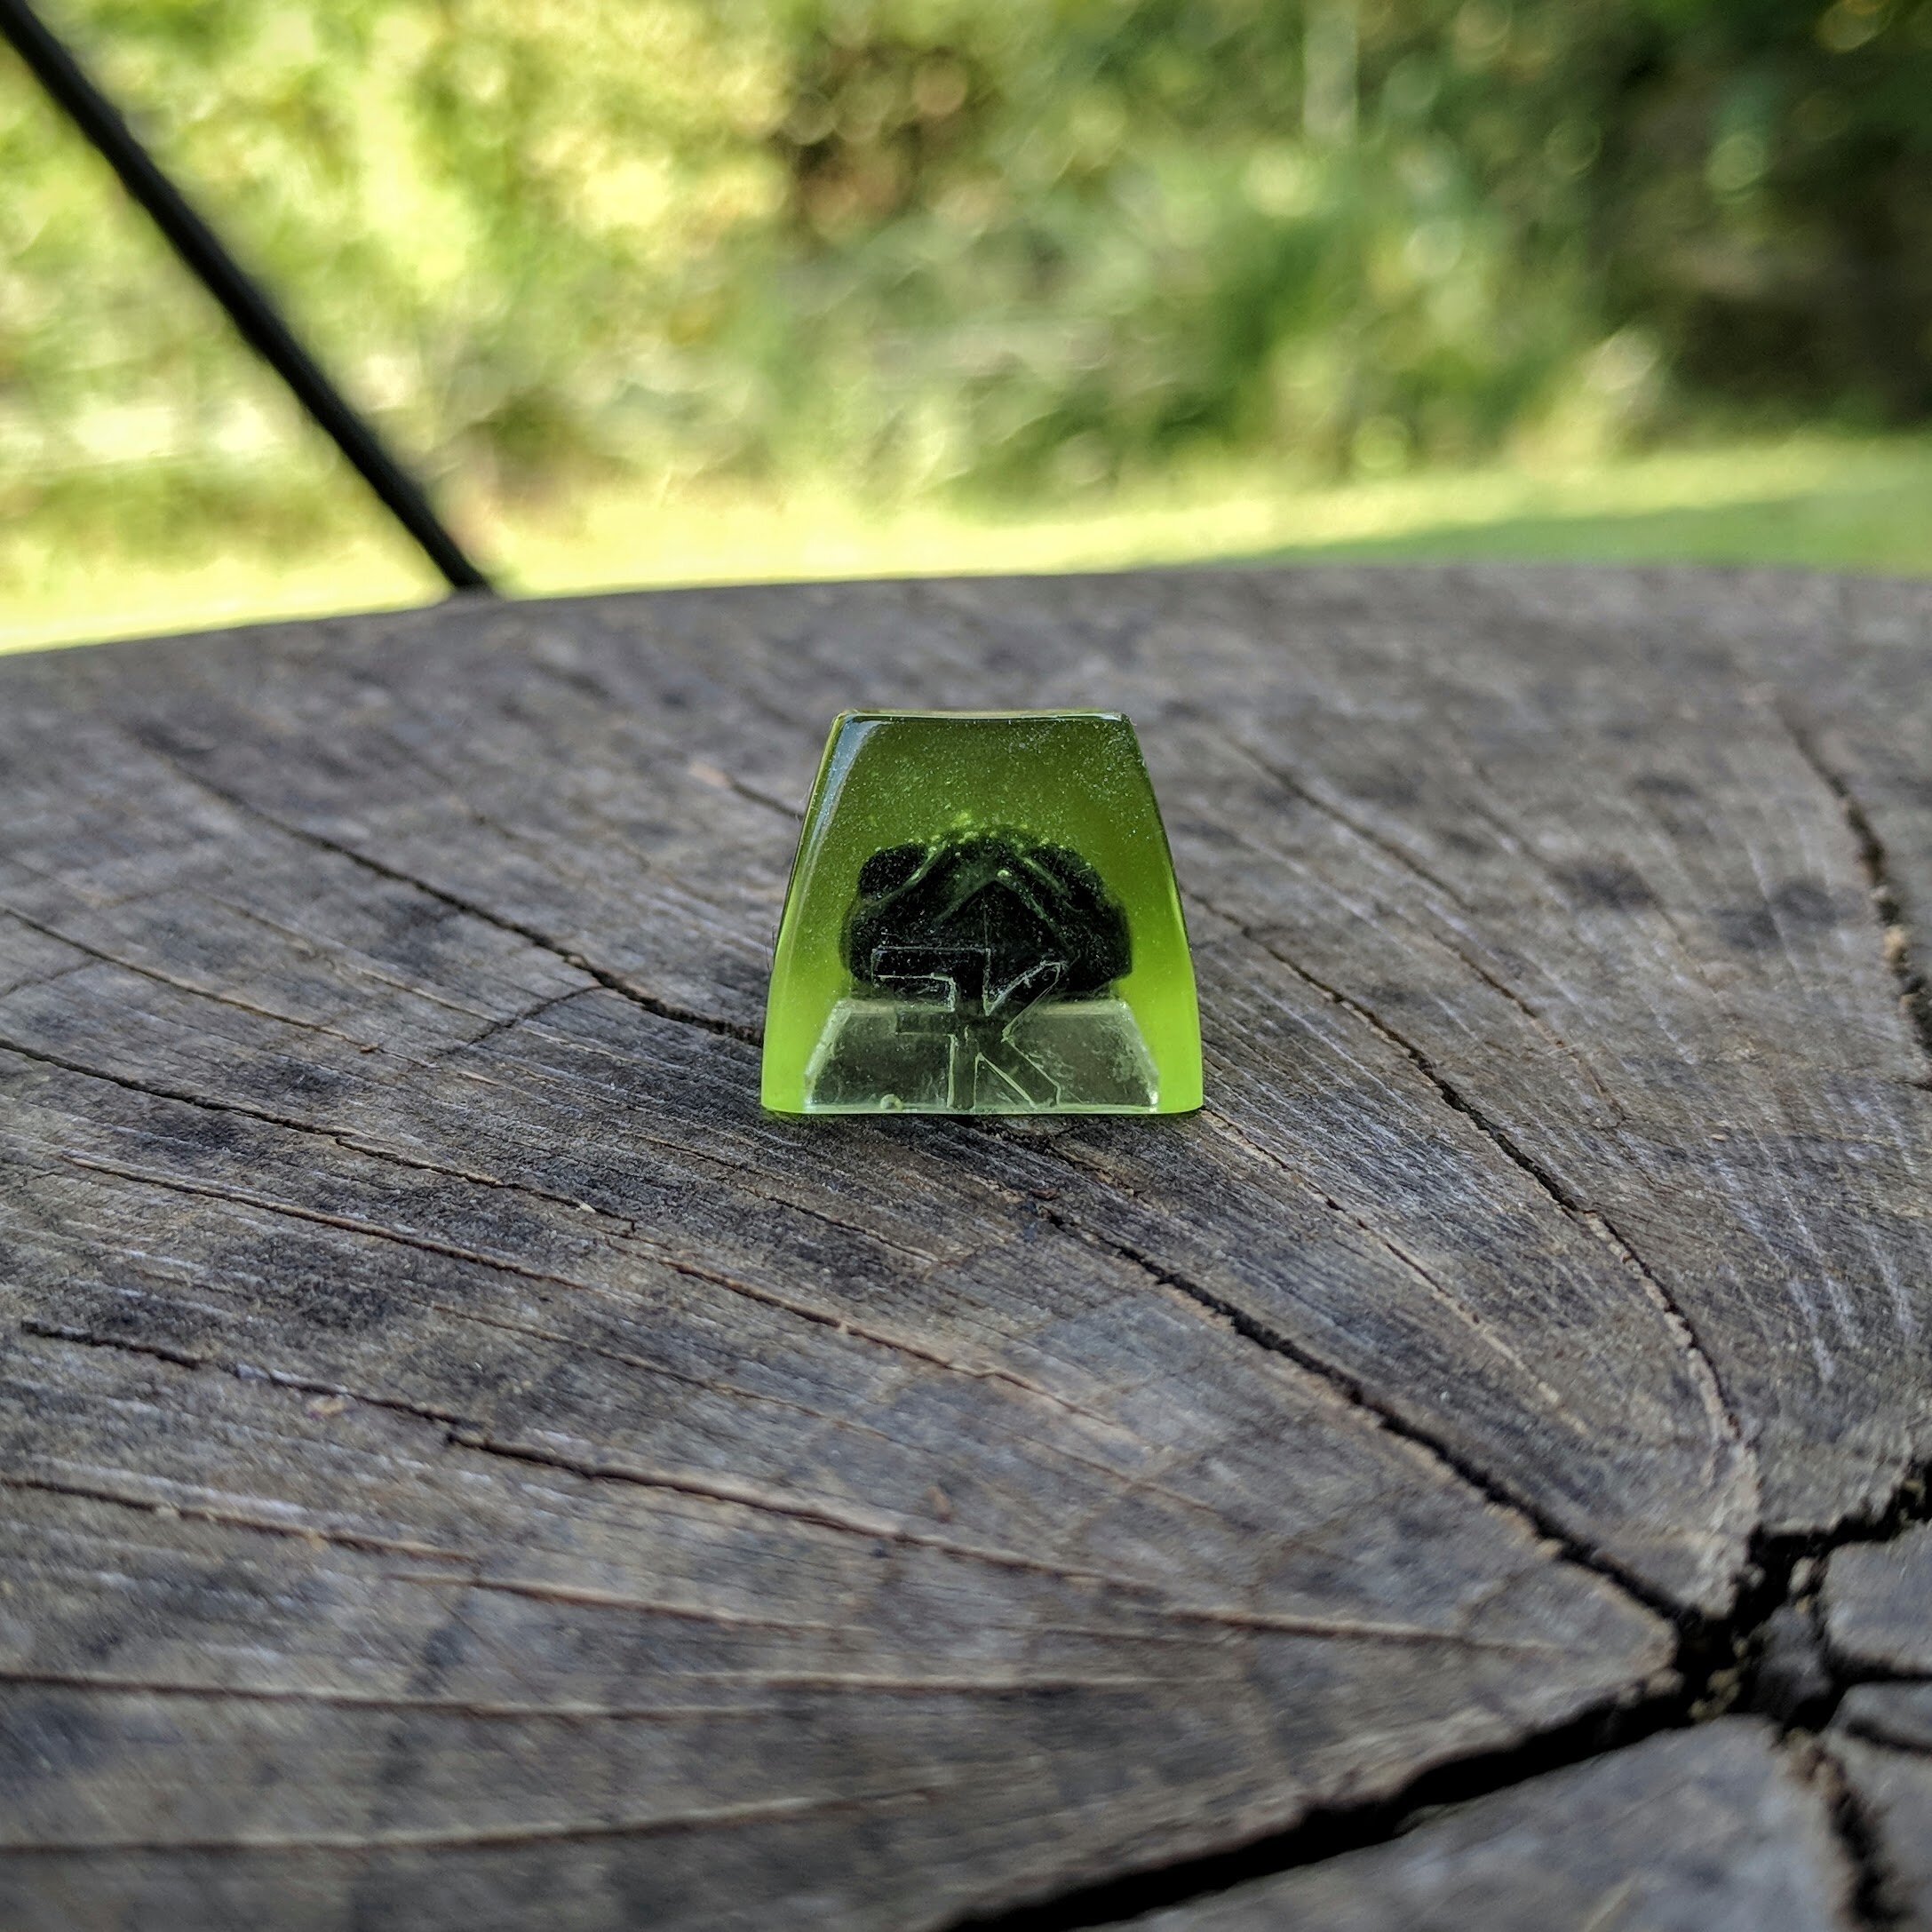
Sometimes resin is easier to work with than clay for certain surface textures/finishes, so I will usually go through a few stages of casting a prototype, then fixing small issues, polishing, and then re-molding and casting the next iteration of the cap. This can take various amounts of steps: for example Gulp went through 7 iterations before I was happy with it, while Ankura only went through 2.
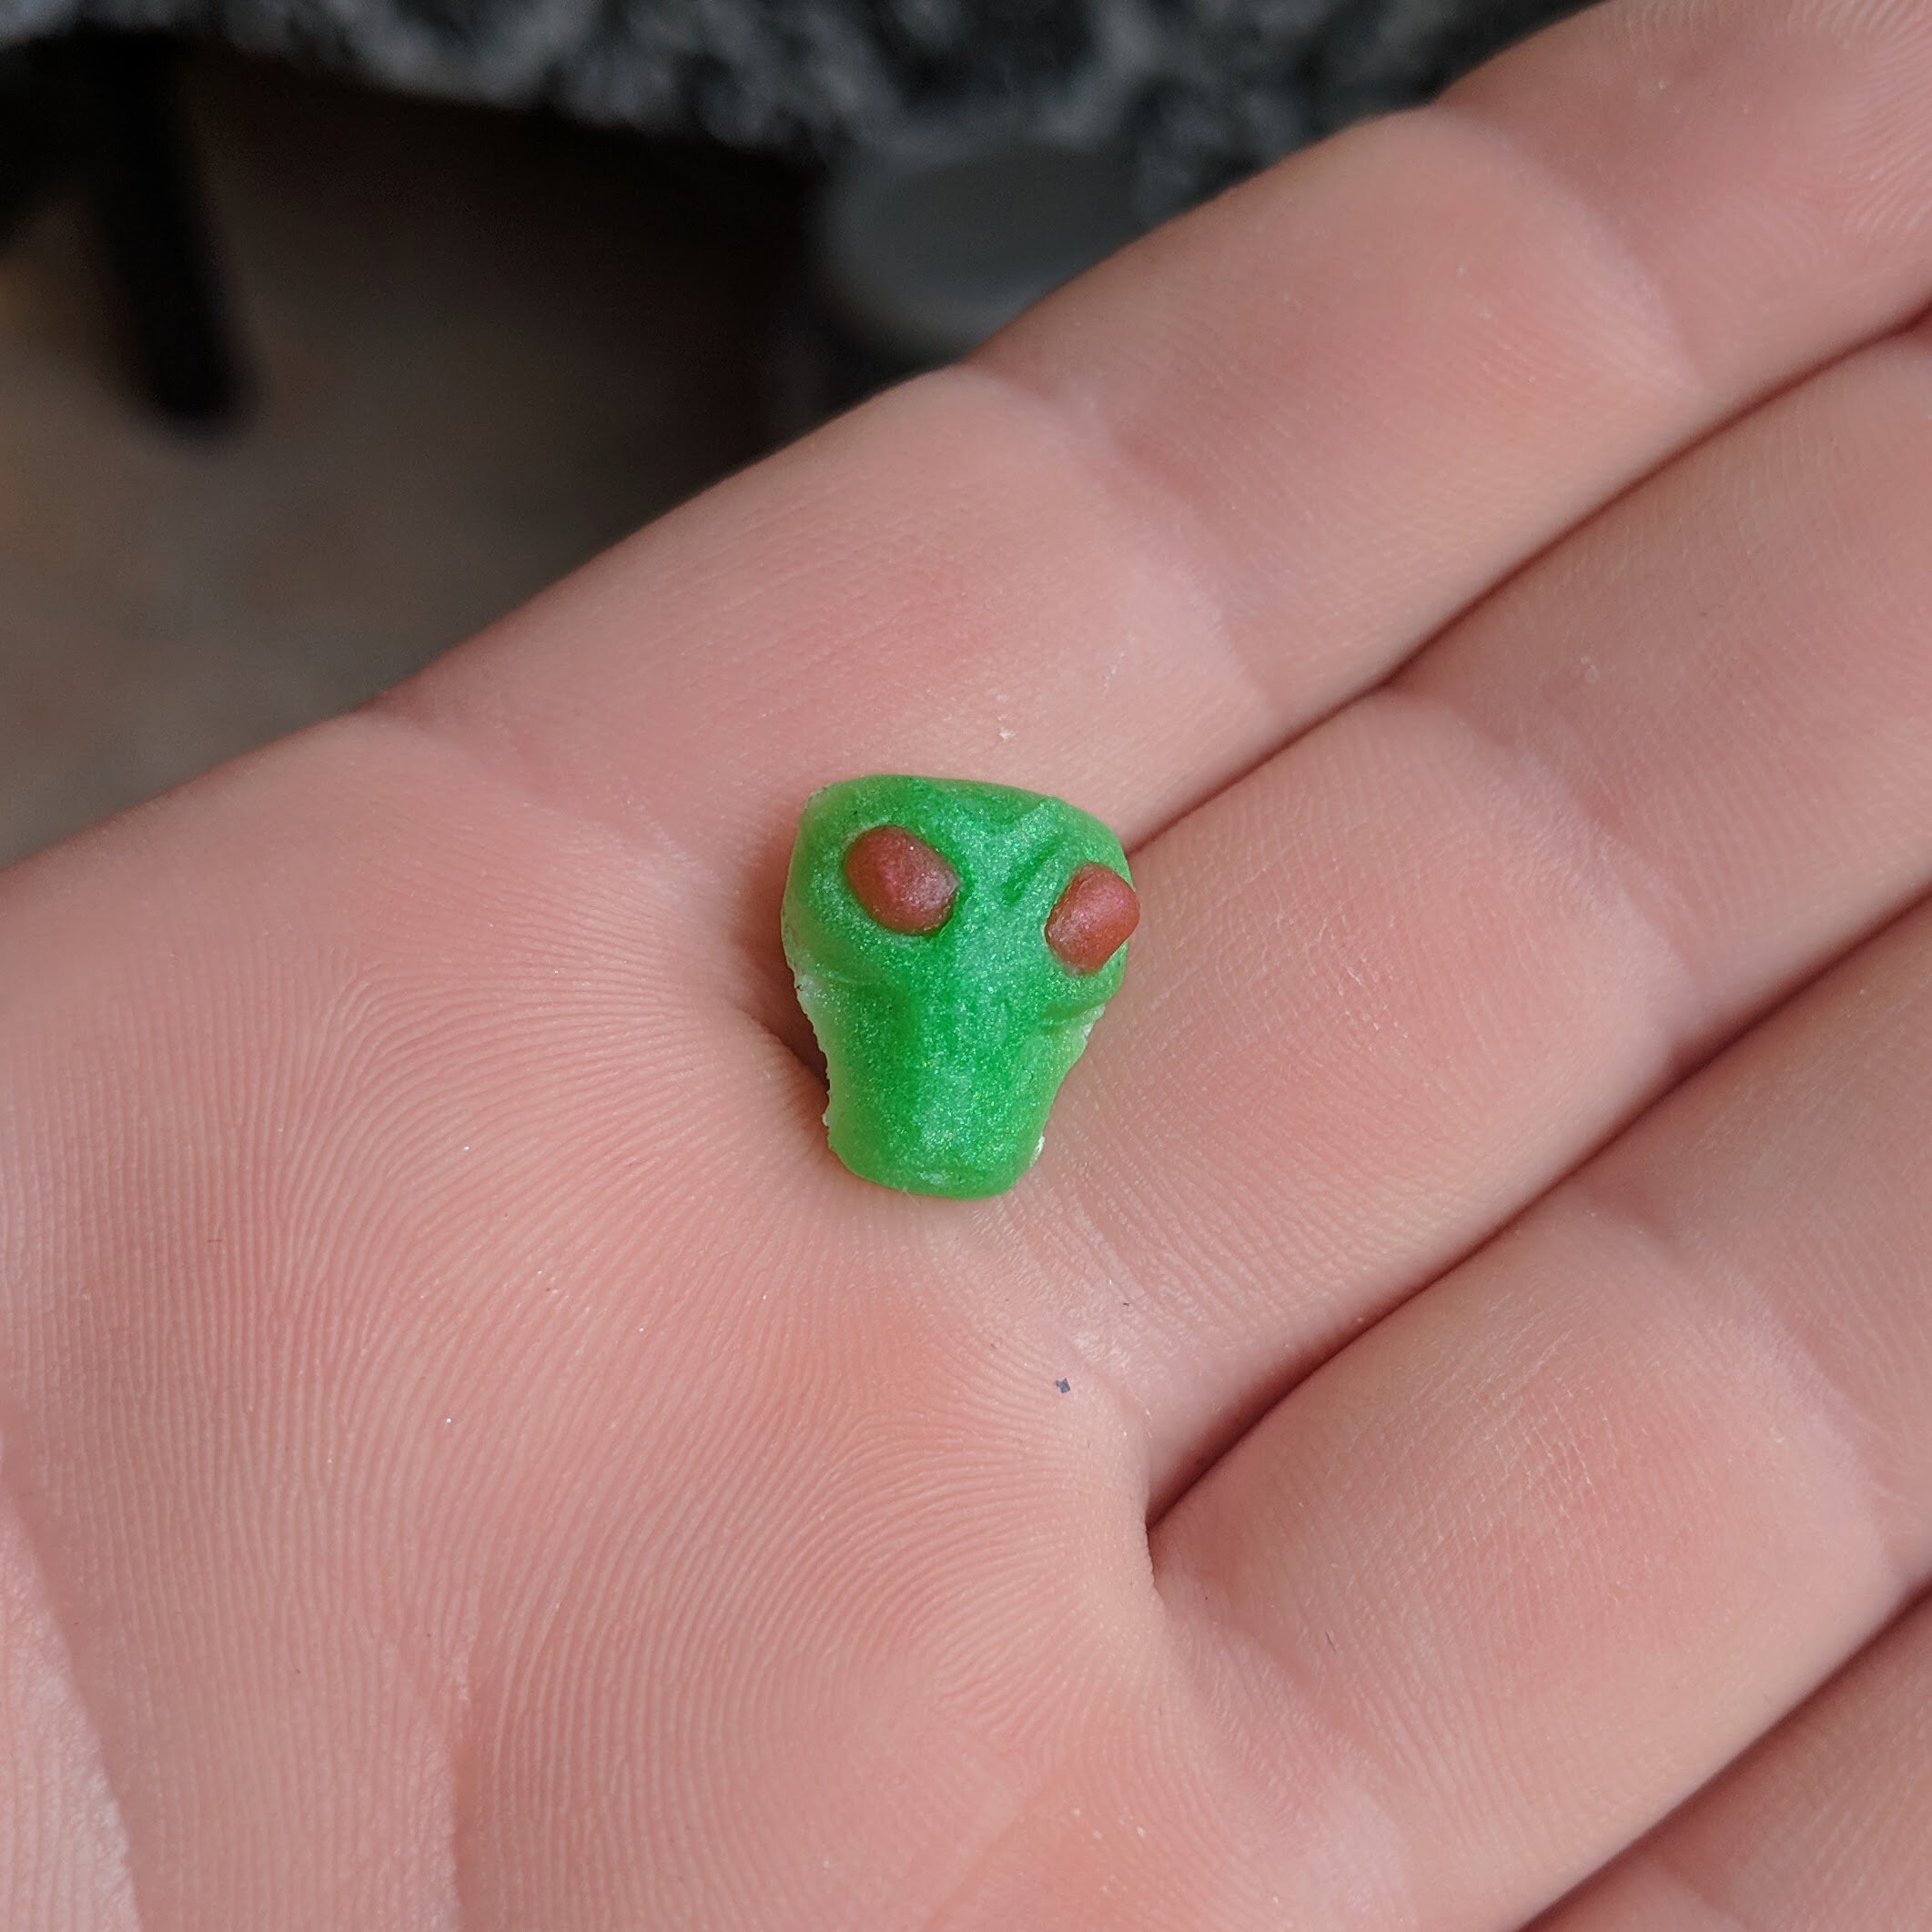
Finish!
Finally when I am happy with the quality level of the prototype, I will make a bunch of caps from the “final” master mold, and then create a bunch of “production” molds from them. Then I go nuts with colorways and create multiple of the same caps at once, and sell them to you :)